| CA Bottle Inverter | ||
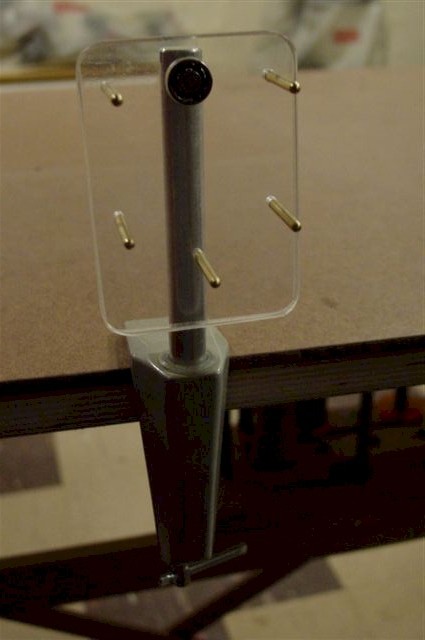 |
CA Bottle Inverter directions: "This assembly was paced into a commercial bracket (clamp) that allows me to fasten it to my workbench. The CA glue bottle is then placed inside the "U", and up aginst the face of the plastic plate. It is advisable to secure the bottle by wrapping two rubber bands around it and the plate. In use, I grasp the lower corner of the plate and rotate it until the bottle is inverted enough to have a drop of glue transferred to my applicater, which can be a toothpick, a needle, or whatever I choose to use to apply the drop of glue. As soon as I let go of the corner of the plastic plate, gravity takes over, and the plate and the bottle immediately return to an upright position, and the remainder of the glue flows toward the bottom of the bottle, out of the nozzle, thereby preventing clogs. It is possible to rotate the plate clockwise or counter clockwise, since the ball bearing can turn 360 degrees. This allows my device to be used by left or right hands when I use the unit. Also, since the unit is clamped to the workbench, it is possible, and sometimes advantageous to rotate the assembly within the clamps 1/2" hole that is supporting the aluminum rod, that is carrying the plate, in order to get a more comfortable position for my hands when I use the unit. Another plus is that I always know where the glue bottle is, and do not have to search for it, or be concerned about where I put it. I just go to the corner of the plate, and that's it. It is a simple matter to construct other plates that will carry different size glue bottles, with configurations to suit, and use the same ball bearing. As always, it is advisable to wipe the nozzle after use, and before you put the cap back on. The position of the "U", and the bearing, and the resultant center of gravity of the plate are offset to insure that the plate is always vertical, and upright while at rest." |
|
| 1 2 |